Description
SMDS provides flexibility for each subscribing organization to manage who has a username and password and ability to work within SMDS. Organizations can edit information for a specific user or remove them from the account. Organizations can set permissions for users, allowing you to change the level of access that a specific user has to the functions within SMDS (authorizing them to do all functions within SMDS or just specific functions such as data entry but not tool creation).
Creating a User
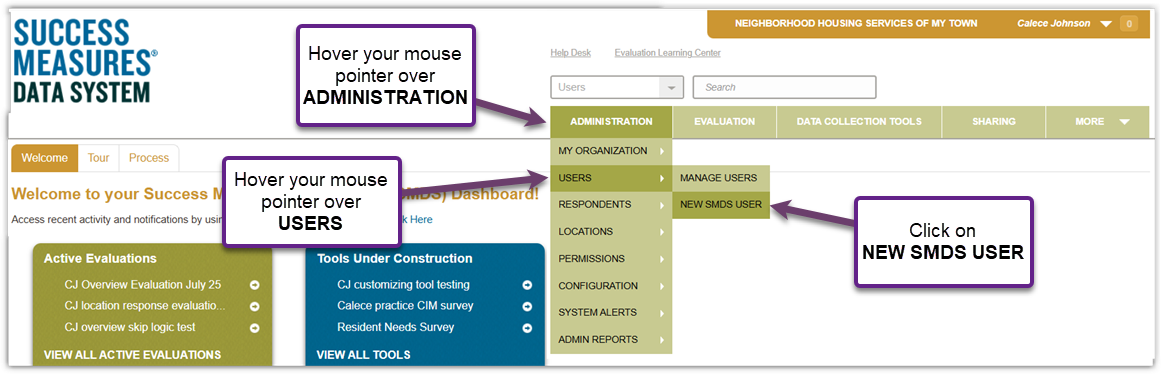
- To add a new User, place your cursor over the ADMINISTRATION tab. Hover over USERS in the drop-down list. Click on NEW SMDS USER.
- The New SMDS User screen appears. You must complete the required fields, indicated with a red asterisk:
- Email Address
- Password (must include at least 1 uppercase, 1 digit and minimum 8 characters in length)
- Confirm Password
- First Name
- Last Name
- Primary Phone (phone does not need to be unique to the User)
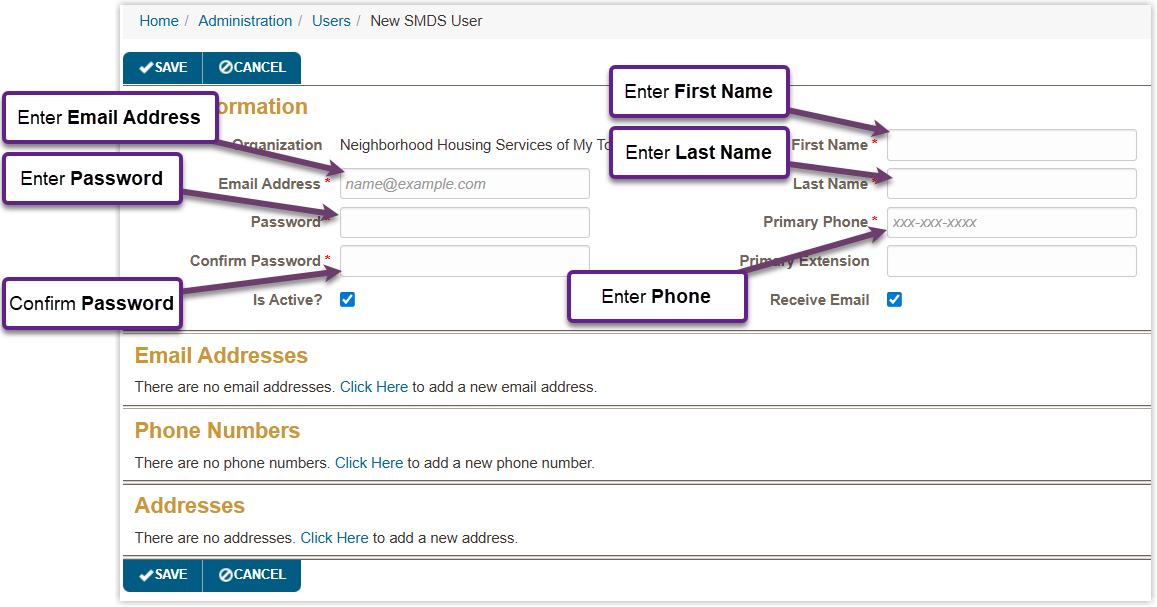
- Click the SAVE button- there are 2 options, 1 at top and 1 at bottom.
Managing Users
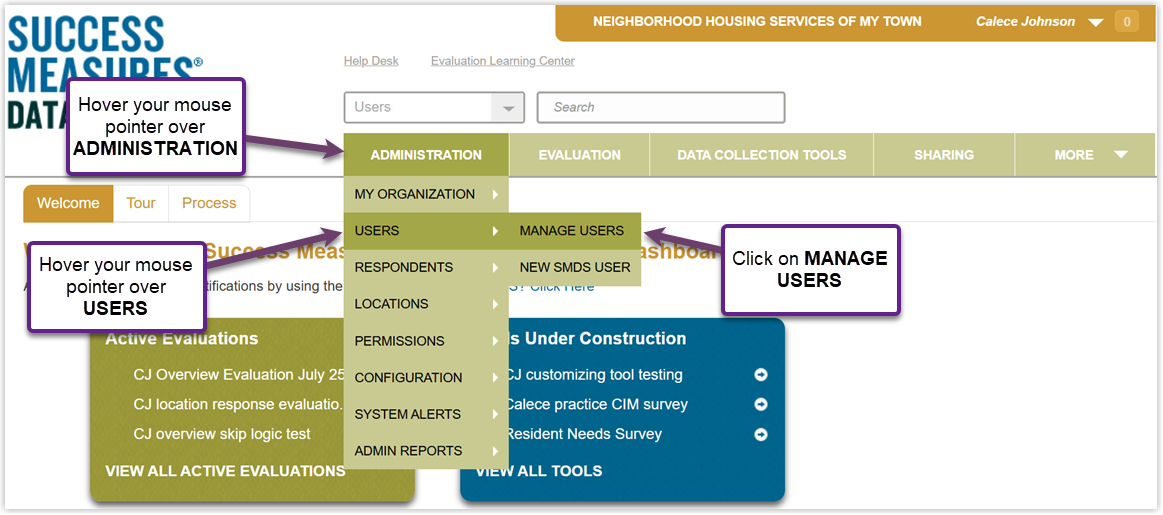
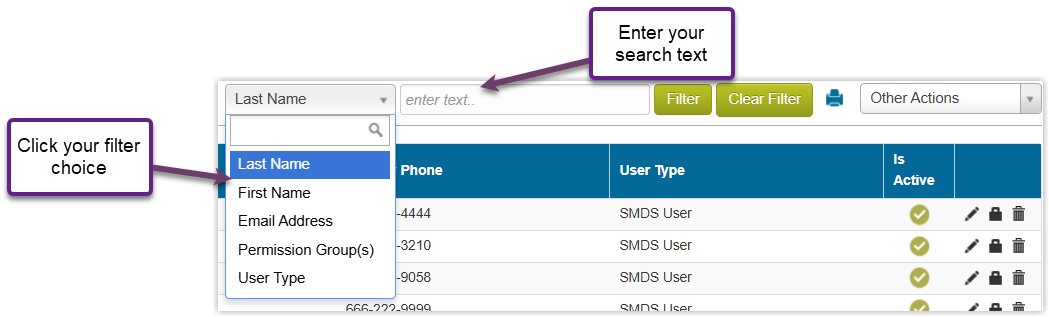
- To manage your Users, hover over the ADMINISTRATION tab. Hover over USERS in the drop-down list. Click the MANAGE USERS link.
- A search for a user can be conducted via the Filter section by Last Name, First Name, Email Address, Permission Group(s) or User Type. You can filter or scan the list for a user.
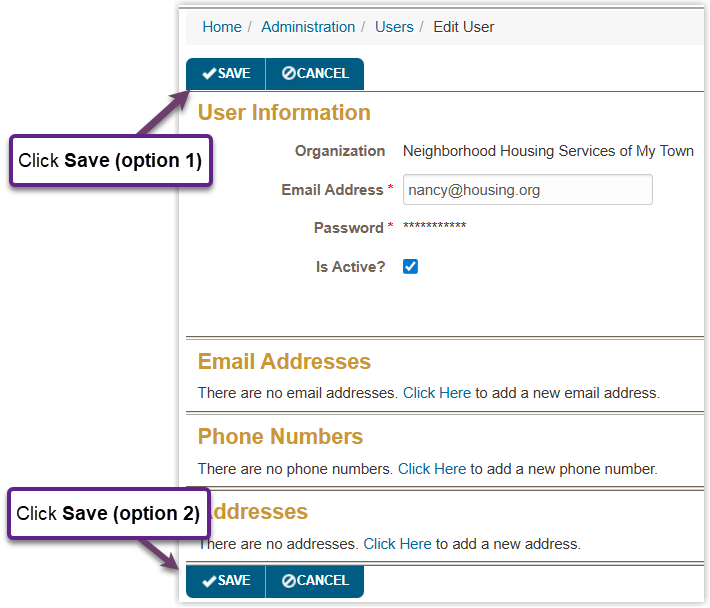
- After locating the user, click the Pencil icon to edit the user’s information. The User Information section is displayed and can be modified. You can update the First Name, Last Name, Email Address, and Primary Phone information. You can also add additional email, phone, and location addresses. You cannot edit the Password in this prompt (see the next section).
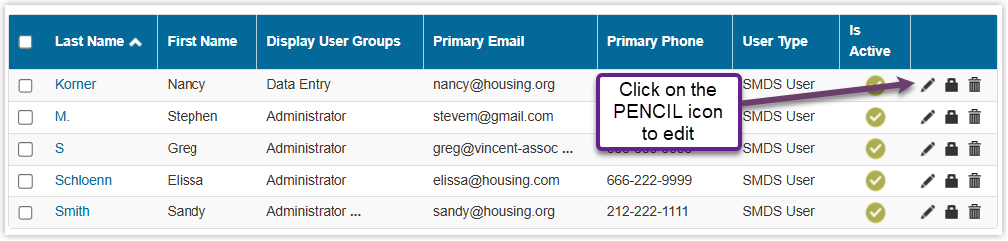
- Once you have made any desired edits, Click the SAVE button.

- To delete a user, click the Trashcan icon.
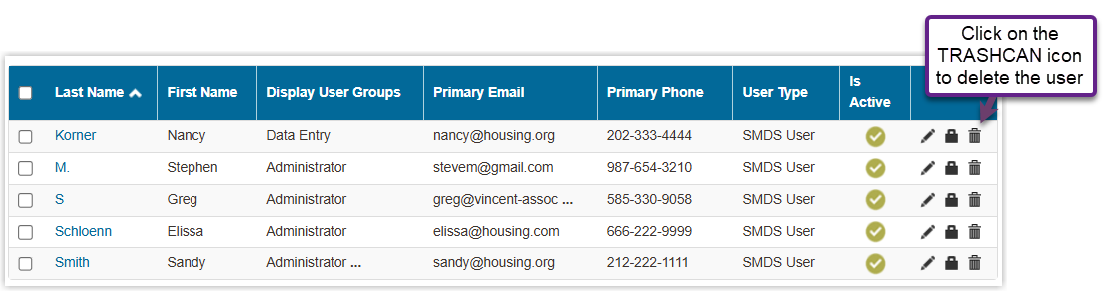
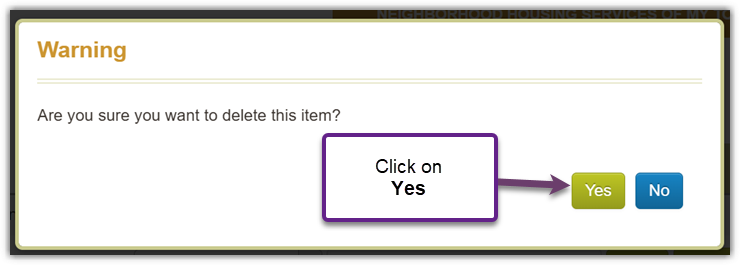
- A pop-up window is displayed to confirm you want to delete the User.
Resetting User Passwords
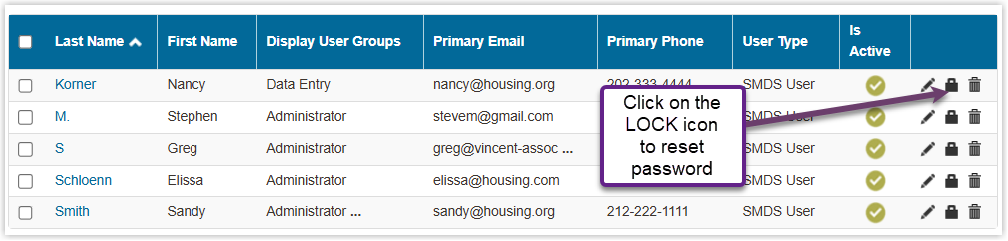
- To reset a user password, click the Lock icon to the right of that user’s name.
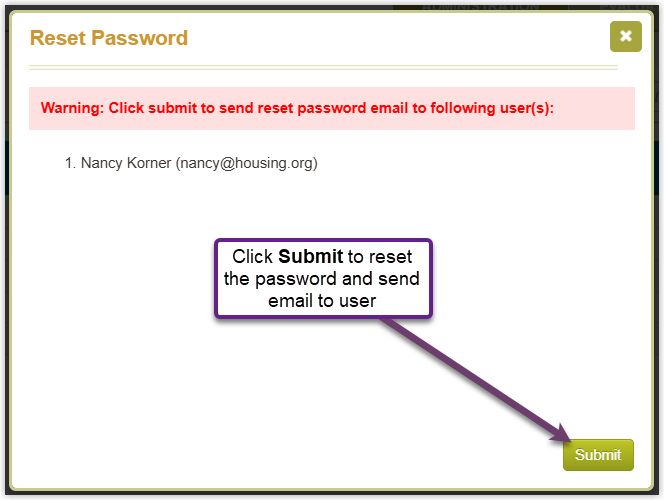
- A Reset Password pop-up window is displayed to give a final warning regarding this action. Click the SUBMIT button.
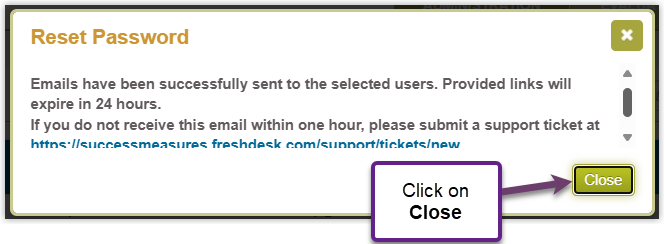
- A pop-up window is displayed to confirm the email has been sent to the user. Click the Close button.
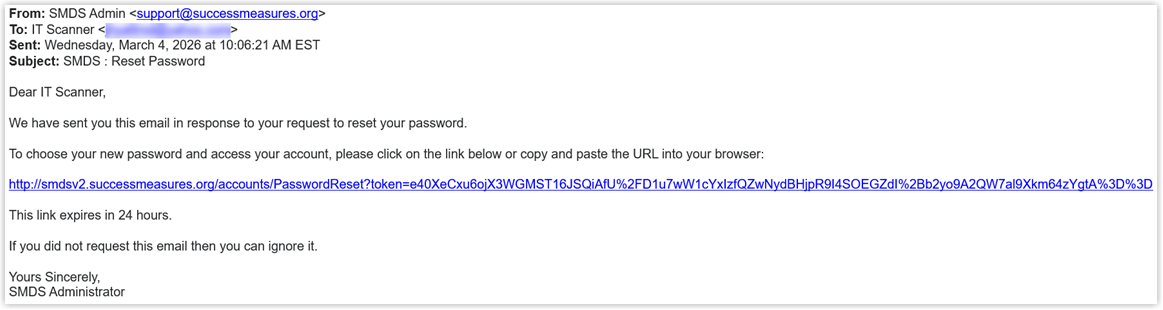
Below is the email sent to the user whose password has been reset. They have 24 hours to respond by clicking the link within the email.
User Permissions
Below are the types and descriptions associated with each permission.
Administrators: Has access to all features.
Data Management: Has access to data, respondents, email distributions, and reports.
Evaluation Management: Has access to all features except managing users and permissions.
TIP: If a user is assigned to more than one permission group, that user’s access will be limited to the most restrictive group. While the system will allow a user to belong to more than one permission group, it is recommended that you place them in only the one group that reflects the highest level of functionality you would like them to have.
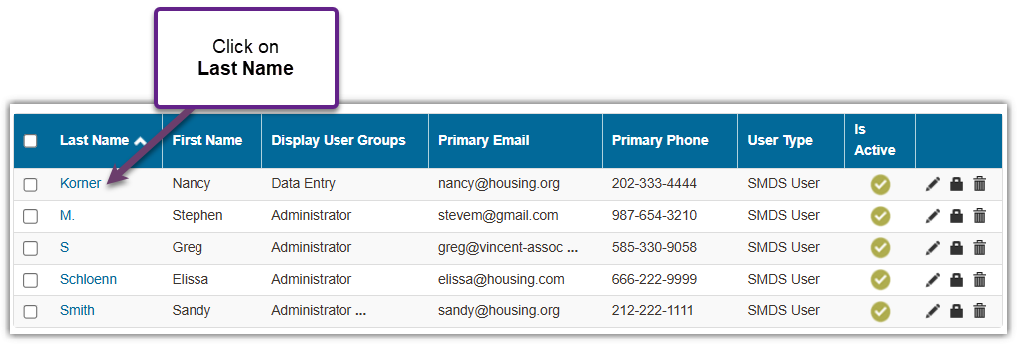
- To change the permission level for a user, click on the user’s Last Name.
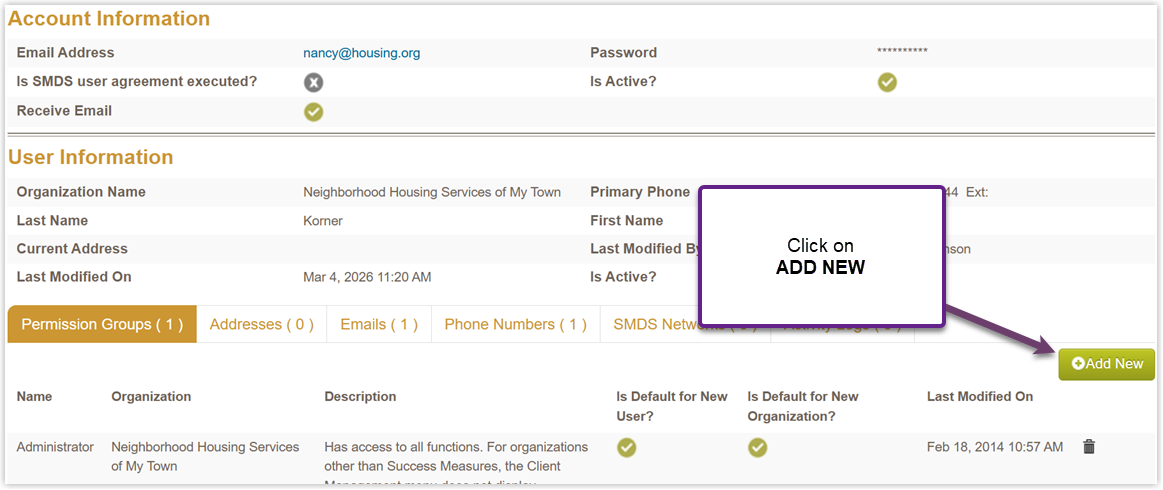
- To add permission, click the Add Newbutton.
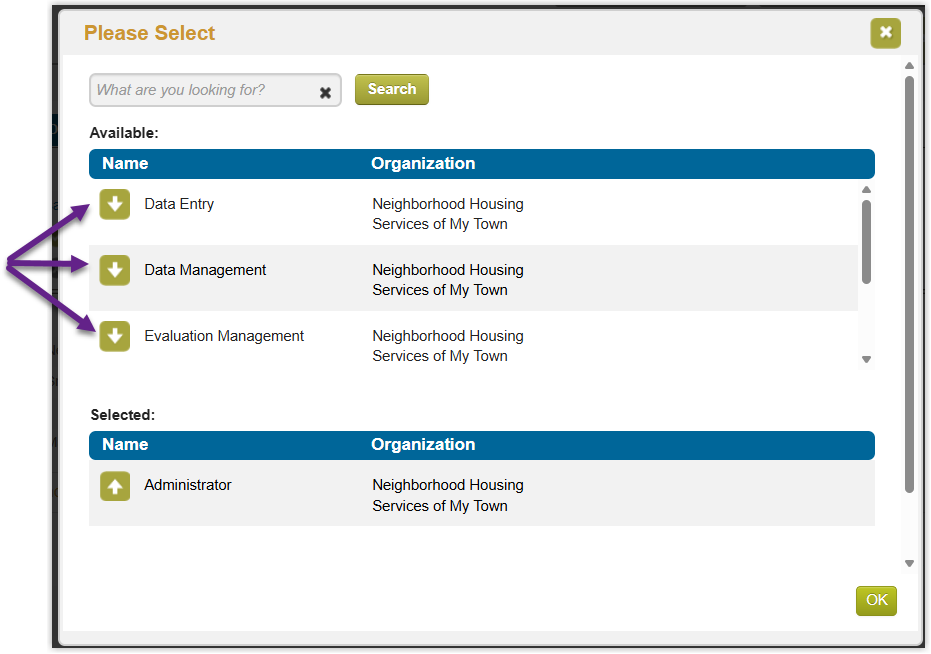
- The Please Select dialogue box will display.- Click a Green Buttonwith the white arrow to add a permission to the user.
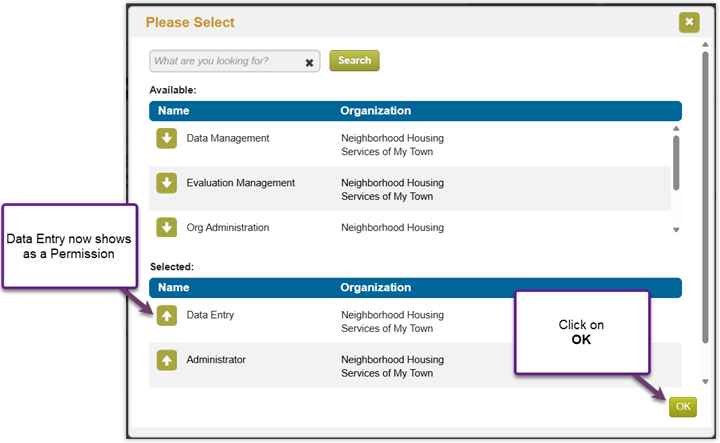
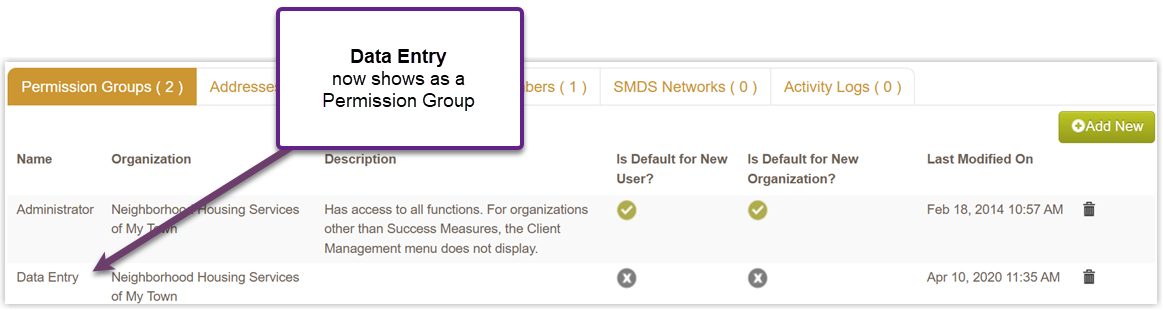
- In this example, we chose Data Entry, which will now appear below under Selected. Click OK.
- The new permission will be listed in that user’s Permission Groups tab.
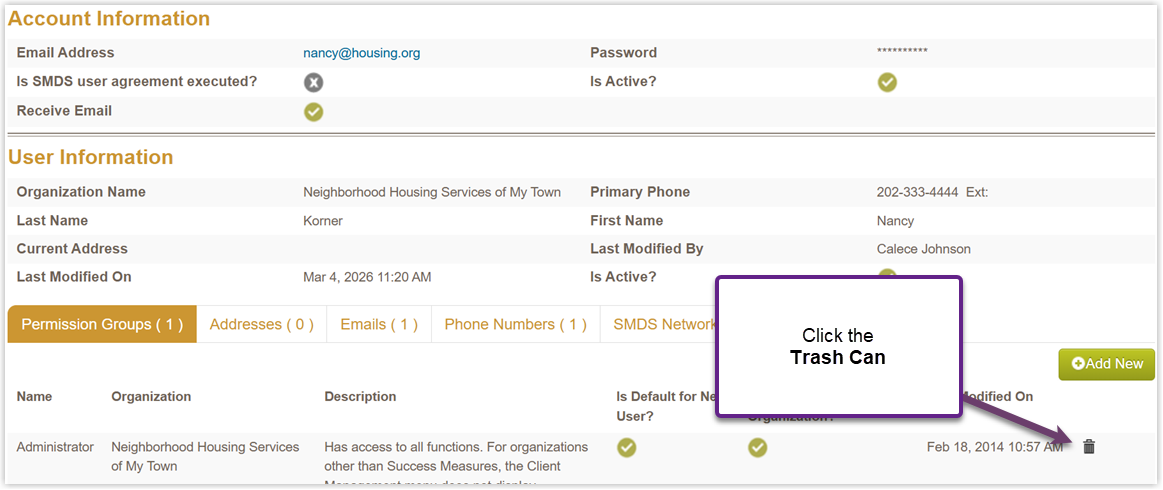
- To delete a permission, click the Trashcan to the far right.
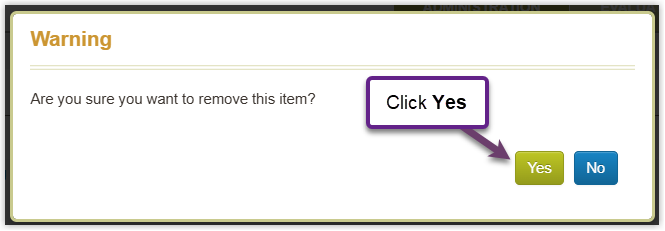
- A pop-up window will appear, warning that you are removing a user’s permission level. Click Yes.
Was this article helpful?
That’s Great!
Thank you for your feedback
Sorry! We couldn't be helpful
Thank you for your feedback
Feedback sent
We appreciate your effort and will try to fix the article